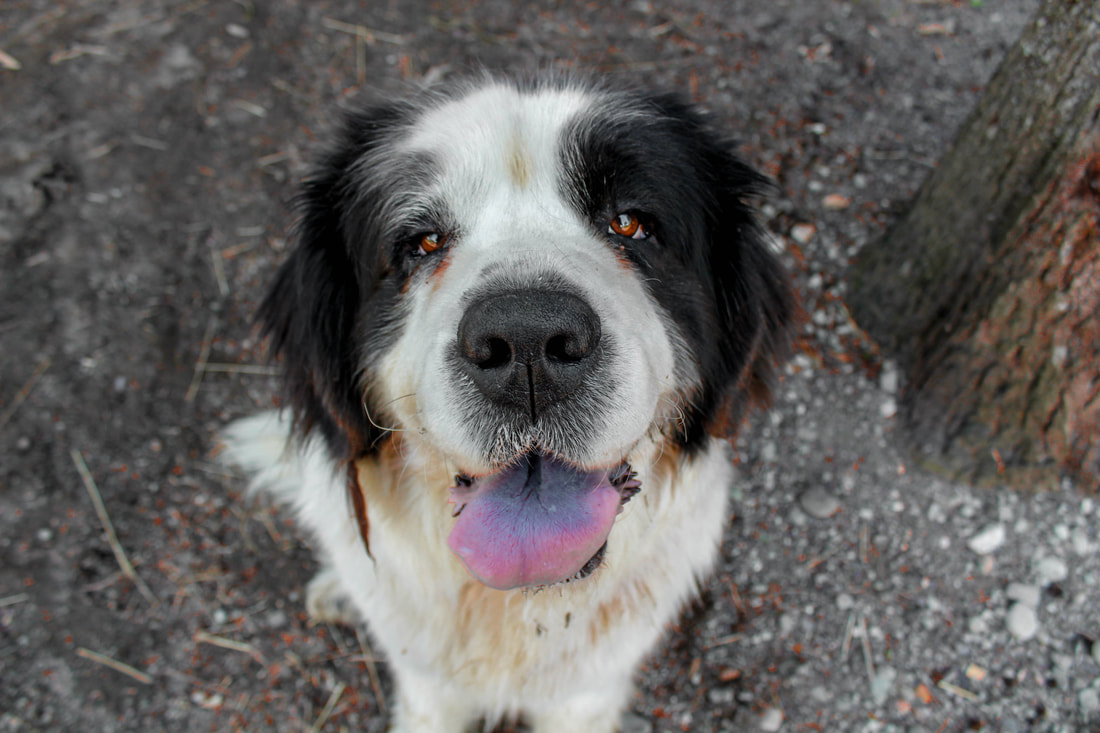
  before photosother photos (coloured)other photos (black and white)Reflection:My most favourite photo of this challenge is the photo of the dog because it's too calming to look at. I didn't expect him to calm that way because he was very energetic and I was surprise that I successfully put him on that state of mind. As I was editing it, I figure, I don't want to crop the background as I was trying to show what environment do dogs love and what kind of place makes them happy. Also, as you can see in the picture I used only two sets of colour which is neutral and warm (black, white, gray and orange) as I was trying to also add meaning to the picture, I made his eyes warm because everyone that the eyes is a window of the soul. Making her eyes look warm will tell the viewers that dogs have a warm heart to the people surrounding it, that they can love you unconditionally. The cool tone symbolizes its impact to people in which therapists believe that seeing or petting a dog could make you feel relax in just a snap of a second. Bonus : texture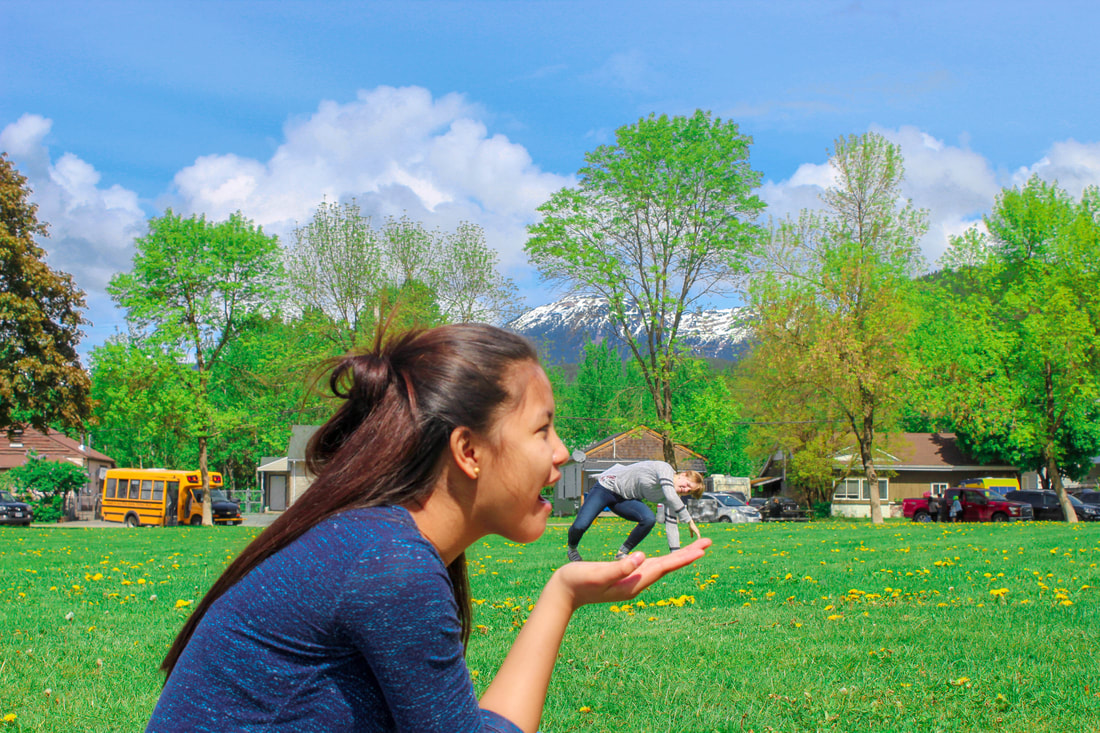 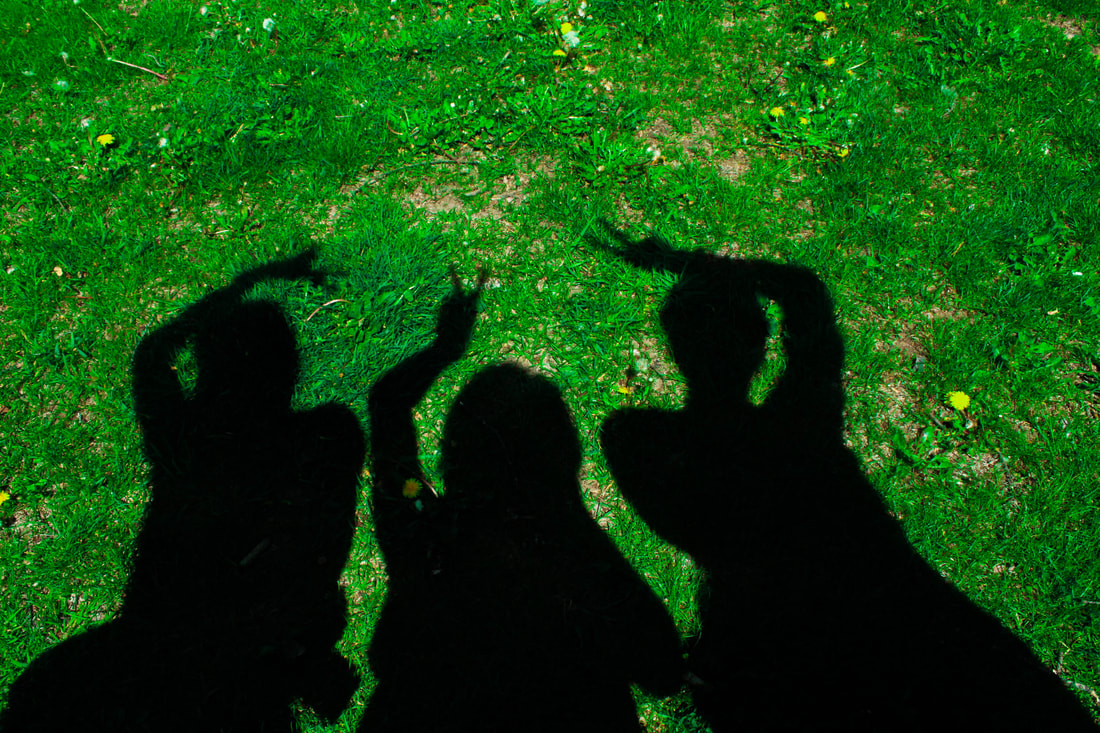 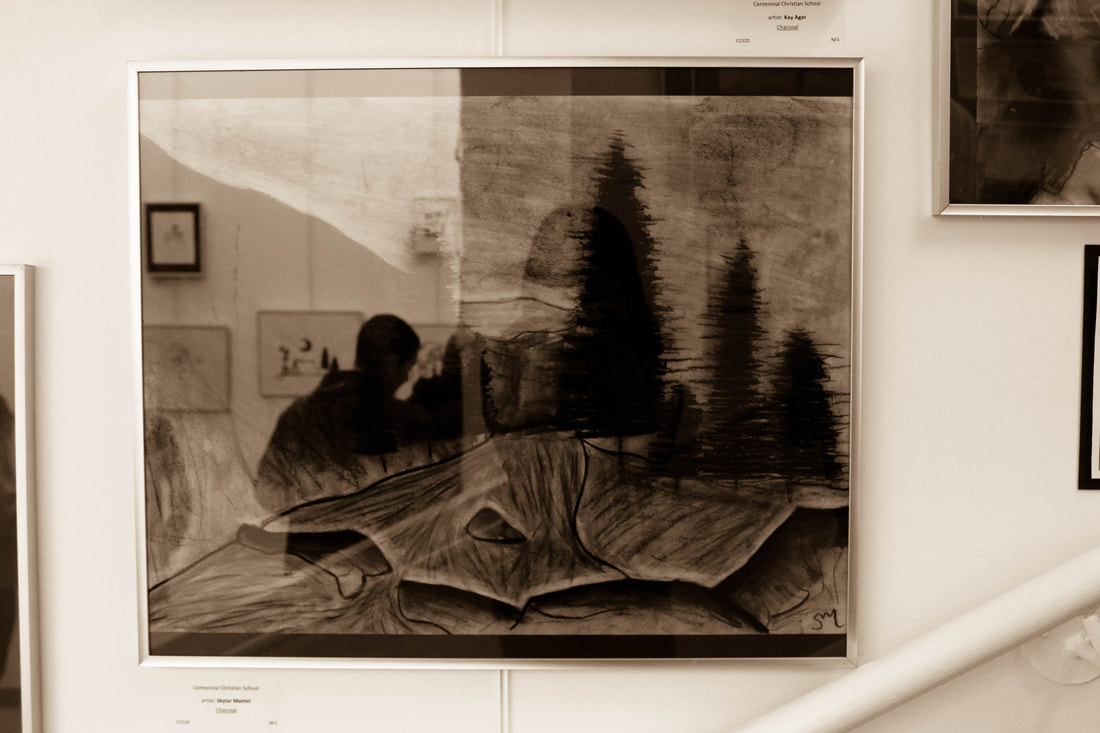 reflectionThese are my (favourite) photos that I took during the fieldtrip in the Art Gallery and George Little Park. We did a push perspective and reflection and experiment on things that I can do using photography. It was fun, especially the push perspective cause we're able to play around the angle and actions that we want to portray for the picture. I've got the result for my shadow reflection, using natural lighting like the sun ray and the fluorescent light in the Art Gallery. For the push perspective we just use a plane ground and had one of my subject near the camera and the other subject farther for them to look that they one is bigger than the other. I asked my models to do some actions like the one in the picture that I had Joy looking like she's trying to eat Ashley. This idea come into my mind because I was starving that time and I feel like it would look funny. Signs of Spring Photo Shoot 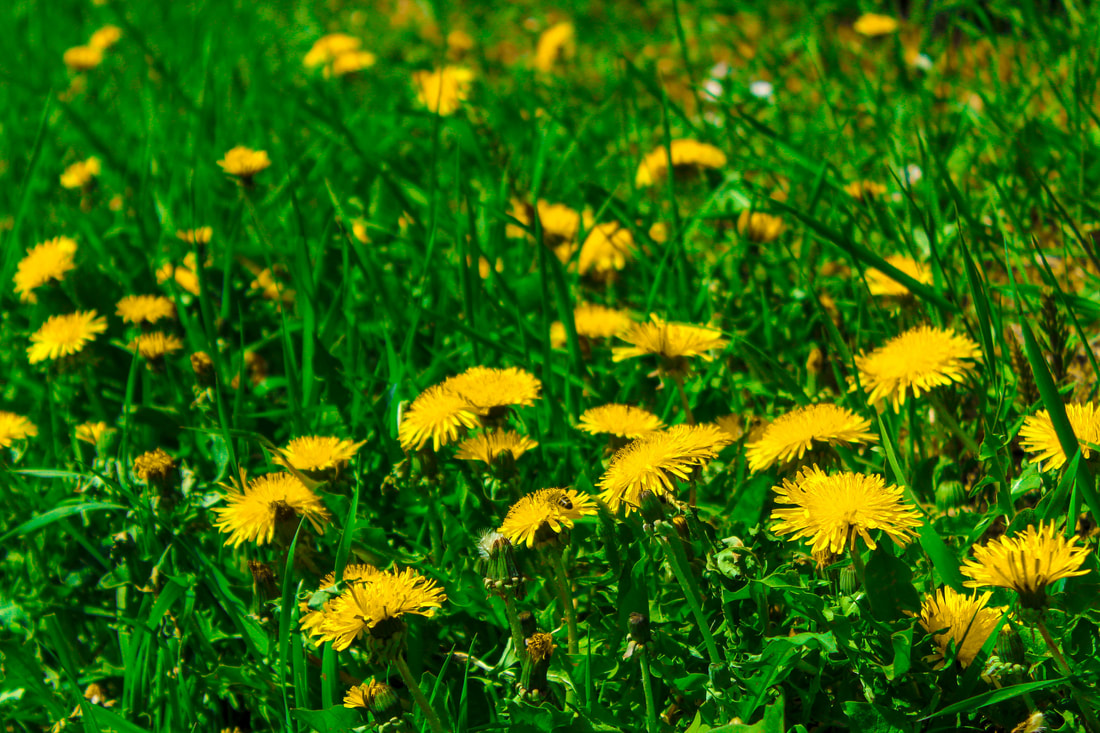 reflection I took this photo to show a sign of spring in which I showed that flowers are blooming and the surroundings are starting to become greener because of the grass and trees. I also showed the bumblebee in the photo. other photosHead Shots WorkshopNatural light
studio light
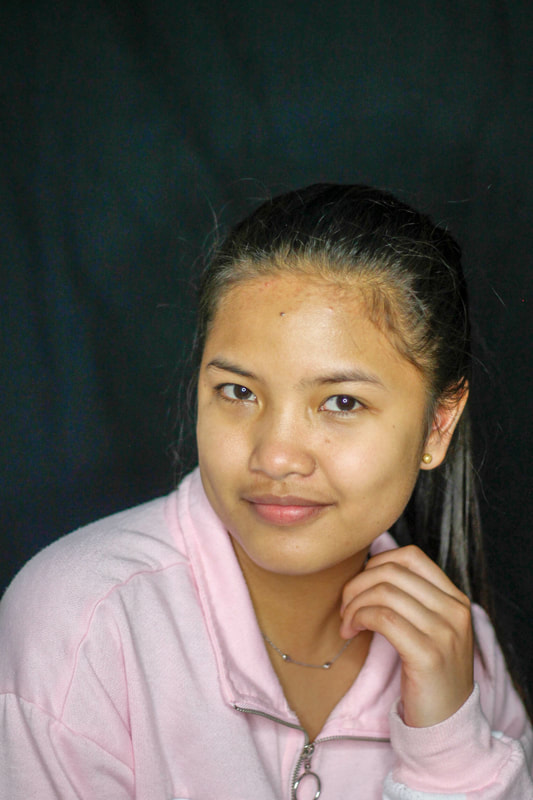
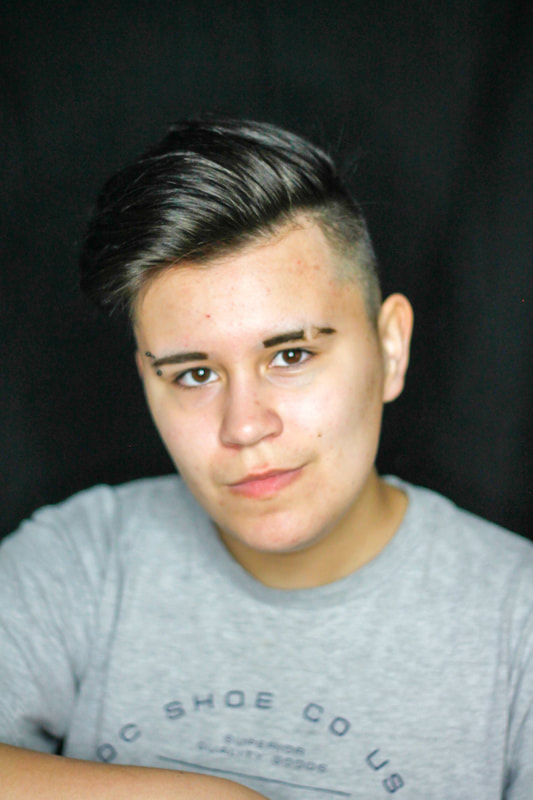
reflectionThese are the headshots photo that I took using natural light and studio light. As I go to take this photos, I told my models to just do whatever they want and just to relax so that they will look eased. I like how they serve me with different looks and moods when I was taking their photos. I instruct Ashley to look in the sunrays because I think its her good angle and also that she'll look cool. Ryan and Joy are just naturals. Furthermore, for my Natural lightnings, I looked for a more shadier place because I find out that taking photos in a very strong light won't look good in the picture because it always gives me a picture that look too exposed and too bright. Place that has a shade and a little bit of sunlight helps a lot to take the right exposure/look that I want for the outcome. For my Studio lightnings, I just used the ring light because I don't want the background to have as much light as the person in the picture does, I want it have less light and just focus into my model's faces. I tried using the reflector but it didn't gave me any changes. For my editing, I used Lightroom and mostly manipulated the colours on my pictures to make it pop and to give it more life. In my Natural light, I really popped out the green because I think making it more visible can make the whole photo to get more attention. Compare to my studio light pictures, I mostly make my model more brighter than its background, I chose to use a black background to compliment both of my model's skin colour. Camera settings: Natural light pic #1 : F3.5, ISO 100, 1/160sec Natural light pic #2 : F5.0, ISO 100, 1/50sec Studio light pic #1 : F1.8, ISO 800, 1/500sec Studio light pic #2 : F1.8, ISO 800, 1/800sec before photos other headshotslightroom
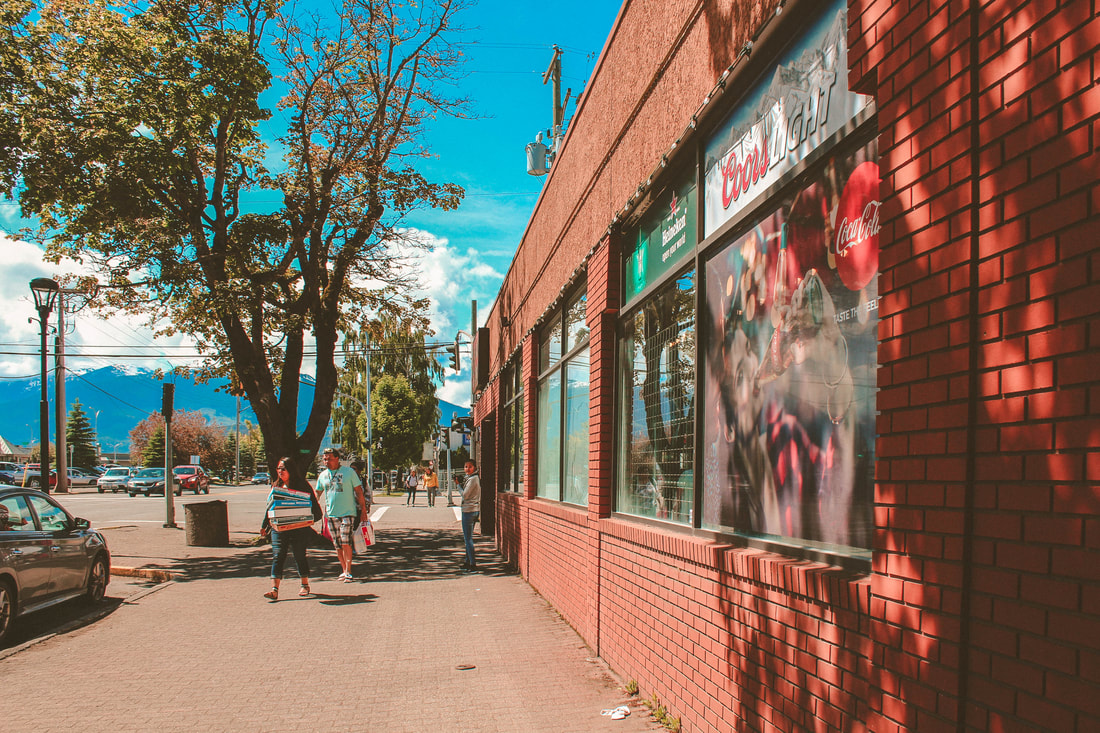
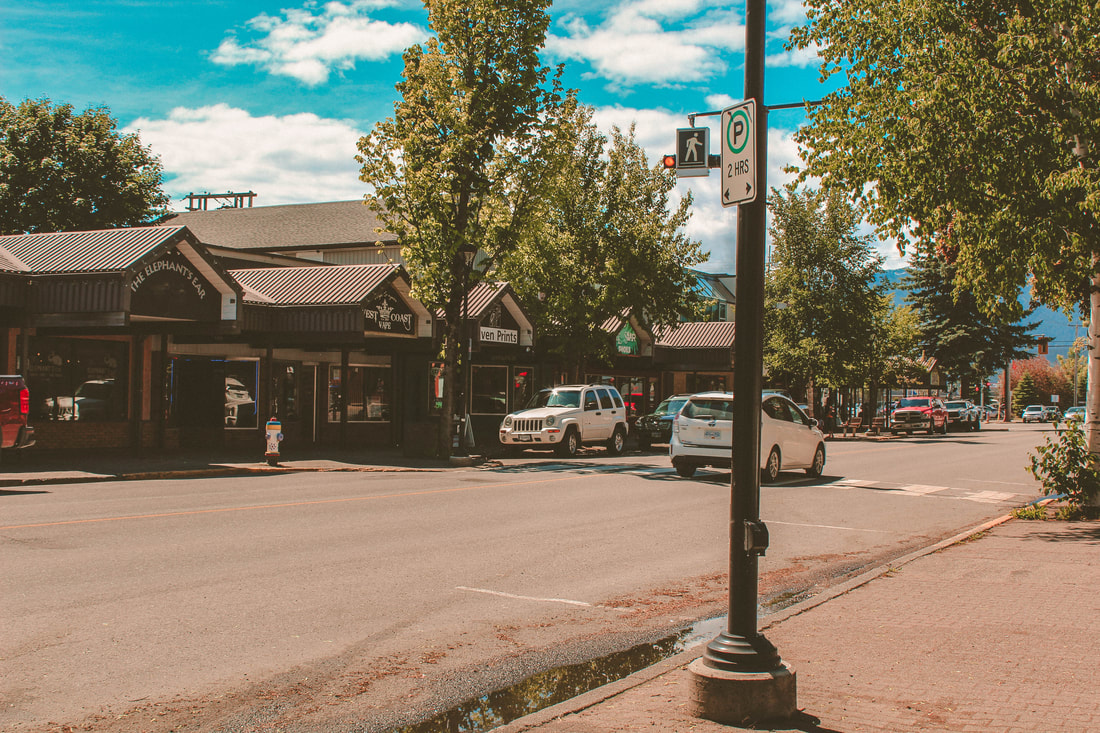
I find editing in light-room isn't that hard because I already had a knowledge using this app. Although, I still learned something new after watching the tutorial. I manipulate mostly the colors, especially the red, in my before photos because I wanted the trucks to be the focal point of view. I've used Unusual framing and rules of thirds as a technique.
I've chosen this two photos because it's catching my attention every-time I browse into my pictures that I took. I love how the green pops out in the photo at the second one and how it breaks the pattern of having a cool colors at the background. I also love the picture that I took at Ashley, as I was striving for a good framing on this. there's enough spaces on the sides and it didn't looked too close nor too far to my subject.
*note: I forgot to keep track on my settings, I'm sorry.  LINES BRING YOU IN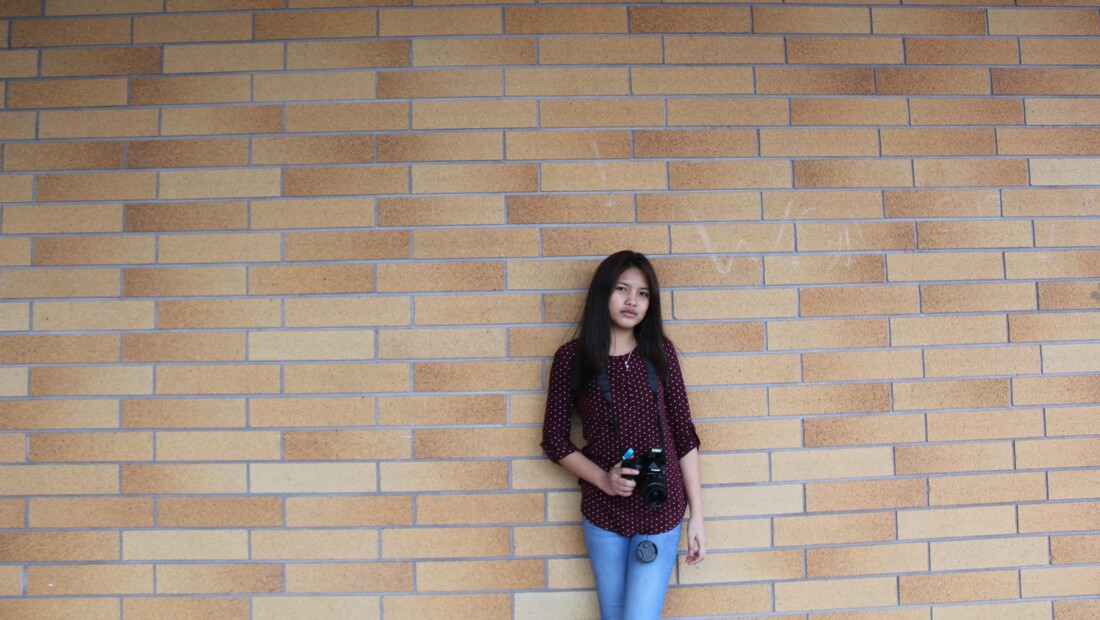 OFF CENTER SUBJECT
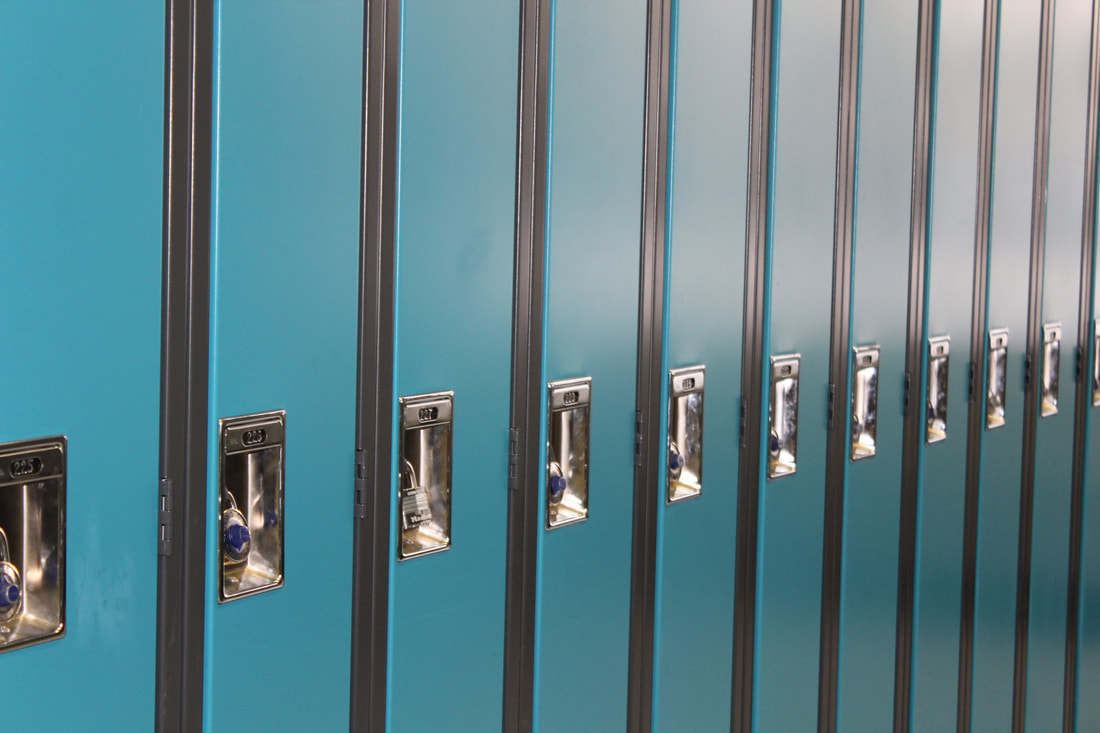 PATTERNS REFLECTION  SHADOW AS SUBJECT SOMETHING THAT MOVES SUPER CLOSE UP TEXTURE UNUSUAL FRAMING
|